Geomerative
In the week about typography we looked at Geomerative and how to use the RFont class. Last week we looked at loading SVG images as RShape objects. Here’s a more in depth look at Geomerative and its base classes.
Why use Geomerative?
The first thing you learn in Processing is to use the basic drawing functions, like line(), rect(), ellipse() or triangle(). When called, these functions draw a shape directly on the screen, using the current fill and stroke.
Often it makes sense to not only draw the shapes directly on the screen, but also save the numbers used for the shapes in variables. Here’s a very simple example on how you would do that without Geomerative
int x = 80;
int y = 80;
int rectWidth = 100;
int rectHeight = 60;
rect(x, y, rectWidth, rectHeight);
This would allow you to reuse these variables in your code, use them to align other objects to the rectangle, and allow you to change all of this by changing a single variable (instead of looking through your code and changing hard coded number a bunch of places).
However, it gets a little messy with all those variables. Exactly like we use PVector (or Vec2D or RPoint) to encapsulate a single x,y location, we can use Geomerative classes to hold the values we use to draw our complex shapes. This can be simple vector points with an x,y, but most of the time it will also be bezier points with control point values.
The class you use to hold the values for shapes is called RShape. Here’s an example that shows you how to draw simple shapes with an RShape, instead of Processing’s drawing functions.
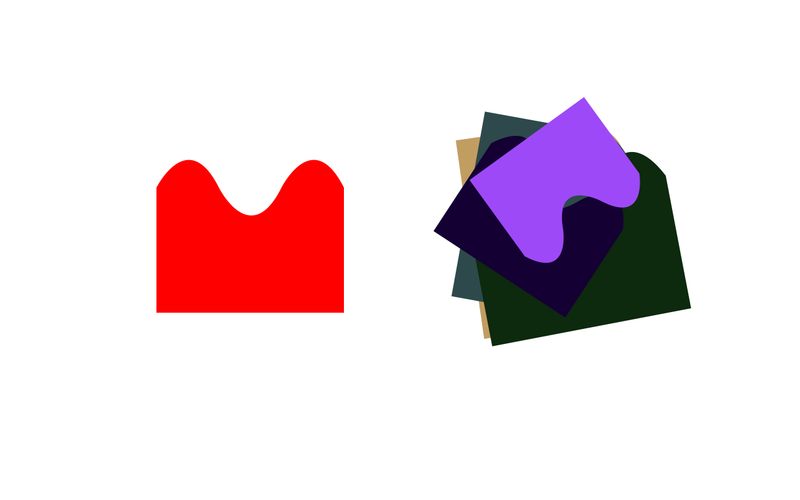
But drawing ellipses and rectangles won’t get us far. Remember beginShape() and endShape()? RShape is built to handle vertex and bezierVertices too! Here’s an example where I draw the sample wobbly shape first using beginShape(), then using RShape:
Notice how the RShape object has a draw() function that will draw the shape with the current fill and stroke in the current 0,0 position in Processing. To move it, you need to call translate before drawing it on screen.
Now that we have an RShape that holds the vertices of our shape, we can do fun stuff with the shape, using some of the built-in RShape functions.
There are many ways to create an RShape, and adding the vertices one by one is just one example. You’ve already seen that we can load an SVG image into an RShape, in the Sigur Ros assignment from last week.
RShape > RPath > RCommand
The RShape is a pretty sophisticated object, and it has a ton of functionality. What’s most important is that each single RShape has an array of other RShapes, and an array of RPaths. These may or may not be empty.
In the end, RShapes are made up by RPath objects, that themselves has an array of RCommand objects. The RCommand class is the guts of Geomerative, as it holds the command for drawing a single curve or line. When I called addLineTo() and addBezierTo() on the RPath, we’re actually telling it to save an RCommand with those values in the last RPath object it holds.
We can use this info to get the vertex points back from the RShape. Here’s an example where I’m drawing small ellipses at the places where I placed points in the first place:
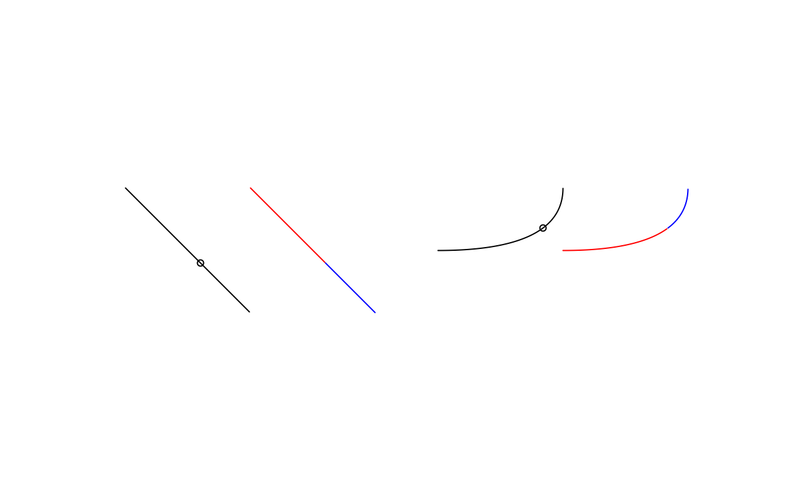
So what is an RCommand? Let’s take a close look at a much simpler example. Here I’m creating a single RCommand object to draw a curved line.
RPolygon > RContour > RPoint
Remember in the typography class where we converted a character to an RPolygon, and a group of characters to a group of RPolygons? What actually happened is that we took an RFont (which is basically an RShape) and converted all the beziers to static points along the outline.
Here’s an example where we do the exact same thing for an RShape
Intersection
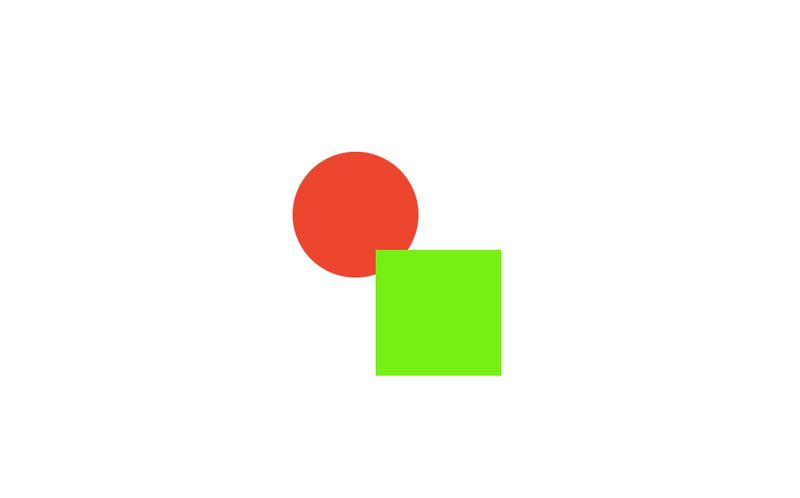
Geomerative makes it easy to do a lot of things that would otherwise require a ton of calculation. For example, it can check whether two shapes overlap.
This simple example can be expanded to find the shape made up by the intersecting forms.
More info
When you download the Geomerative library, it comes with a ton of great examples for you to explore. They are a bit advanced, but really showcase the power of the library.
You can also find the entire Geomerative library reference online. This is great if you’re looking for specific functionality, and for knowing what parameters each function takes.
Geomerative Advanced
For the super users, here’s some more fun stuff you can use Geomerative for.
Vectors and Direction
When we looked at vectors last time, I said that a vector is basically just a x,y position. That’s true, but often those numbers refer to more than just a location. A vector can, for example, be a number that specifies a direction. If you multiply the vector, you’ll get the point further away in this direction.
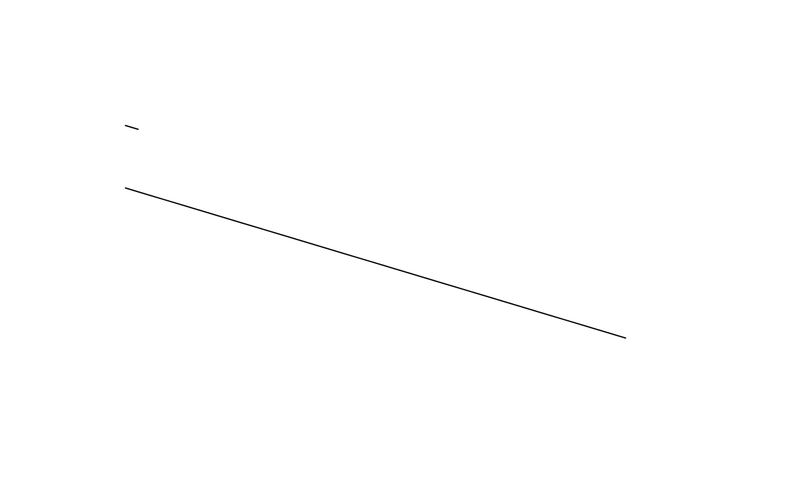
This example demonstrates this by drawing 2 lines from the same vector.
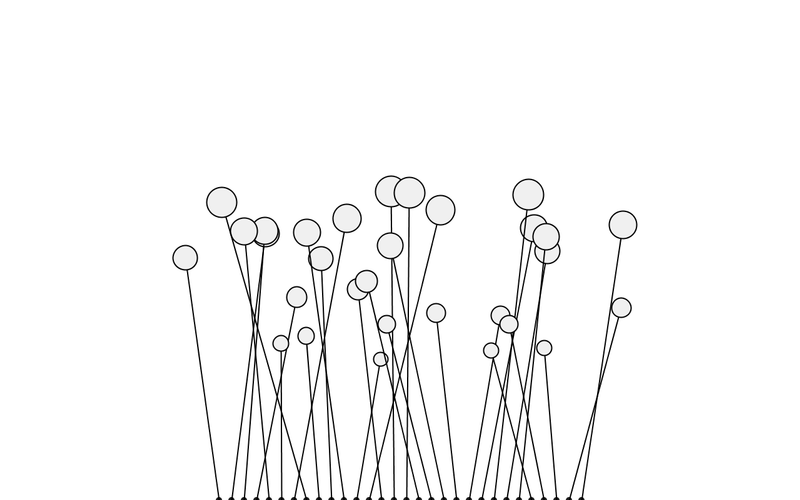
If we were to demonstrate this in a real-world example, we could make a sketch where a bunch of flowers automatically choose a direction and a length, and dynamically draw themselves. This is a simple example of how that would look like.
As you can see, a vector is really fundamental in computational geometry, as all shapes consists of vectors.
Building an RShape
Remember that there are 2 different set of classes in Geomerative. One is an RShape (that holds RPath that holds RCommands), which are made up of vertices. Another is Rpolygon (that holds RContour that holds RPoint) whichare the classes that holds an RShape that has been converted to an outline. All of these classes have a “draw” method to quickly draw the object.
Here’s a simple example where I’m creating an RShape (a line) and converting to an RPolygon (also a line, but made up of a lot of points, instead of 2).
Let’s look at a little bit more advanced example, where we’ll be creating a small drawing of a house. First we’ll create the house as an RShape, and then we’ll convert it to an RPolygon to make it feel more like a line drawing.
In the first session on Geomerative, we saw how to create a single wobbly form as an RShape. Here’s an example where we draw house - a shape with more than one RPath’s.
Here’s an example of how to convert our house to an outline, in order to simluate a hand-written line.
Helpful Functions
RPoint cross?
TODO: BinaryOps - subtracting two shapes form each other
TODO: BinaryIntersection - to create masks
TODO: HelloAdaptChildren - use text on a curve


